To create the kind of pots I like, I employ a, by modern standards, slow and inefficient mode of working. Working alone gives me full control over every step in the creation of a pot. I can see them evolving from a pile of clay chunks slowly drying in the sun to the white heat in the kiln.
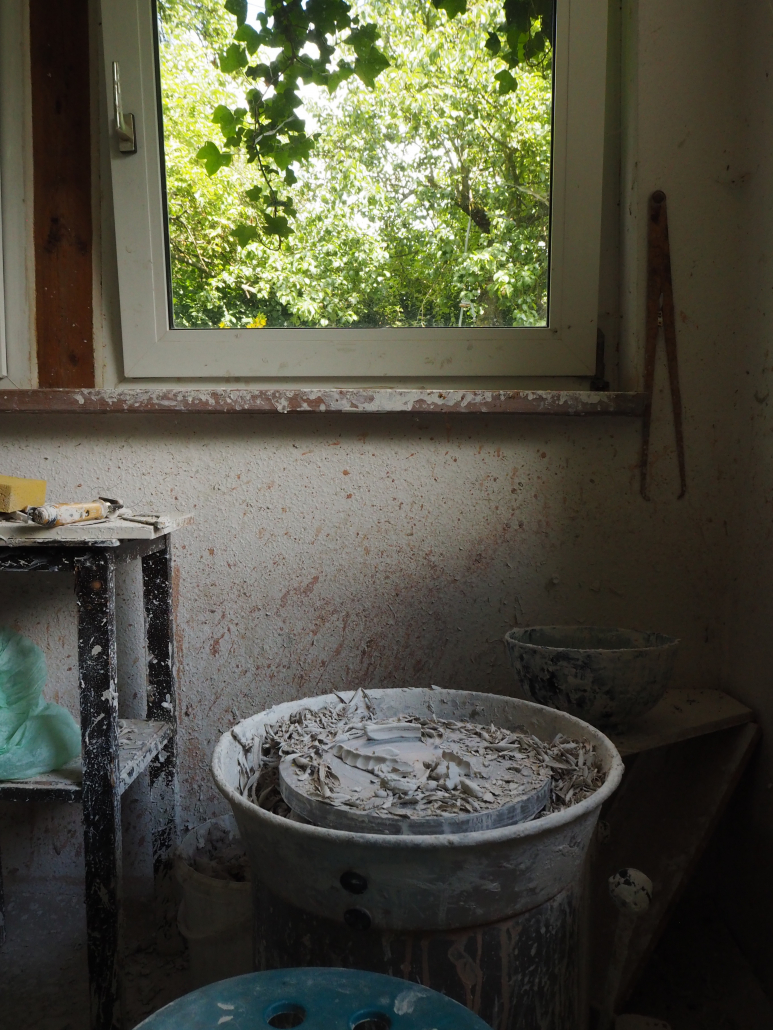
Throwing is process that forms a pile of mud into a pot with the help of the throwing wheel. It is the first and most important in the process of making an actual pot. I have found numerous ways to kill a well thrown pot but none to revive a badly thrown one.
Even when throwing a series of similar pots I try to focus on the shape of every single one and learn more about it. Sometimes this results in a new variation of the base shape and I can start a new exploration.
It is amazing how, when one accepts the formal restrictions of a traditional shape like the one of a type of Japanese chawan, much room there is for individuality. Time honored base forms like this offer a great way to express my self while providing a solid frame work.
Trimming is the process of carving out the base of a partially dried (leather hard) pot turned up side down on the potters wheel.
The way the sharp trimming tool cuts into the clay offers a contrast to the soft throwing motions. It also offers a way to refine the shape of the pot.
Trimming the pots is a very important step for me. It takes about as much time as I need to throw the pot. Carving out a foot ring provides the shape with elegance and offers a way to nicely hold a bowl with hot tea. I personally like the futility of spending a lot of time on a part of a pot hardly anyone looks at.
Decoration is the process of adding visual and tactile elements to the pot that serve no purpose other than trying to enhance the aesthetics. There are numerous ways of decorating a pot.
Personally I am tending more and more towards fully omitting deliberate decorations. If every one of the other steps of the making is done right a pot should not need any decoration. Maybe. How ever I still use some forms of decoration and will list them here.
- iron oxide brush work
- Using a hand made Chinese brush, I paint iron oxide (rust) mixed with a little glaze directly on the clay prior to glazing. If done right, the iron oxide will, during the firing, flux the glaze and mix with it, creating interesting colors.
- carving
- Using sharp iron tools, I carve patterns and designs out of the leather hard clay. Those crevasses then offer a nice playing field for transparent, runny ash glazes that pool there and display a deeper color in the carved out lines.
- inlaying
- Is the most time consuming decoration I do. After carving lines into the surface, those lines are filled the a differently colored clay. When the inlayed clay has dried for a while the excess is scraped off the surface of the pot and all that is left are sharp lines of white or black clay contrasting nicely with the rest of the body. Potters in the Korean Goryeo Dynasty mastered this technique like non other.
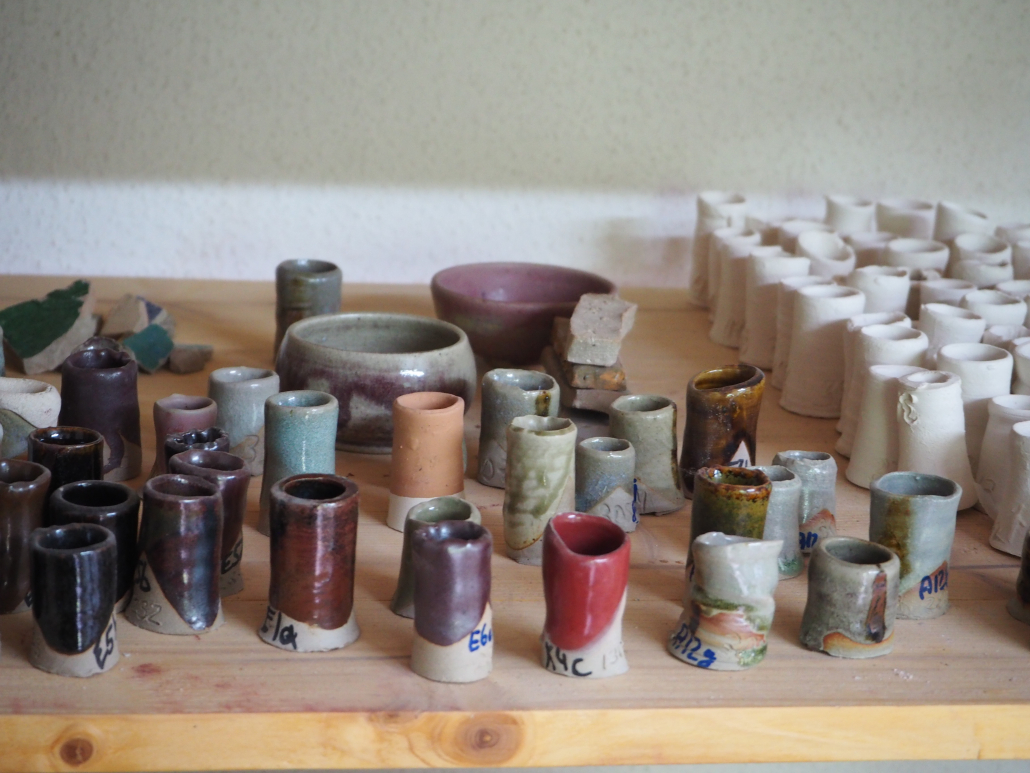
The glaze covers the body of the pot. Since stone ware is water proof by nature the glaze is used mainly for a change in color and texture. Textures can range from a perfectly smooth surface to very rough ones. I use a multitude of glazes which are constantly evolving and have descriptive names like “S8e” so listing them here would be pointless, but I will provide a list of the glaze types I use. All of them are Chinese or Japanese in origin and have been around for hundreds of years.
- celadon
- One of the most revered glazes of all time. Being colored by just a tiny amount of iron oxide it provides a color that shifts around between green, blue and gray depending on the composition of the glaze and the atmosphere in the kiln. If done right the glaze can have a incredible depth and its color reacts to the surrounding light in a special way.
- ash celadon
- The ash celadon color range tends a lot more towards green then my basic celadon. But it can be made a little runnier so it high lights ridges and carved parts on the pot. The ash celadons surface also can be varied, ranging from perfectly smooth and shiny to dull areas on the same piece.
- temmoku
- Is an iron rich glaze with an color ranging from a very dark, almost black brown to lighter yellows, reds and greens. This glaze heavily depends on having an interesting surface to play with so can show its color range in full.
- nuka
- The nuka glaze is traditionally made in large parts from rice husk ash. The high silica content of the ash turns the glaze almost completely white. Yet varying thickness and iron bearing slips under the glaze can change its color and surface in subtle ways, allowing streak of blue and green to appear. It is a fascinating glaze and I am just beginning to explore its possibilities.
- satin ash celadon
- A type of glaze which has no clear name to it that I am aware of. I produce it by over saturating an ash celadon with clay. If fired to exactly the temperature just before the point it turns glassy, the glaze gets a very nice to touch satin surface with some green glassy streaks in it.
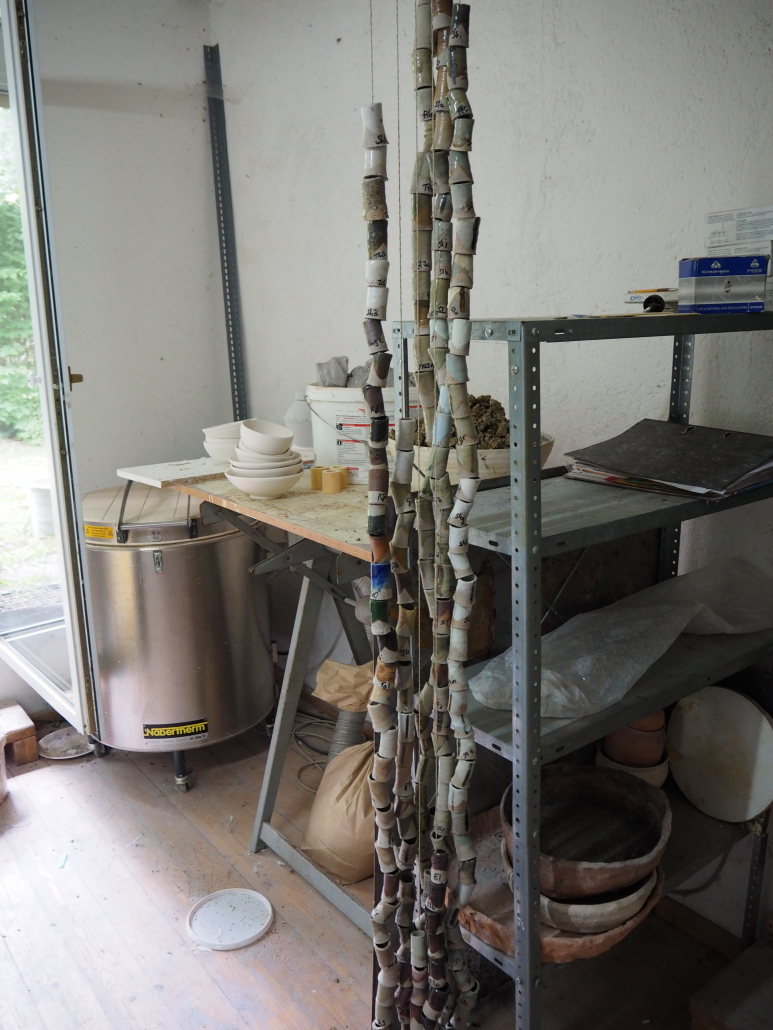
The firing is the last step in the process of making pots. Hitting the right temperature and atmosphere at each point during the firing is important for the outcome. Yet changes in the firing schedule, intended or not, can lead unexpected and happy surprises or to entire kiln loads of bad pots.
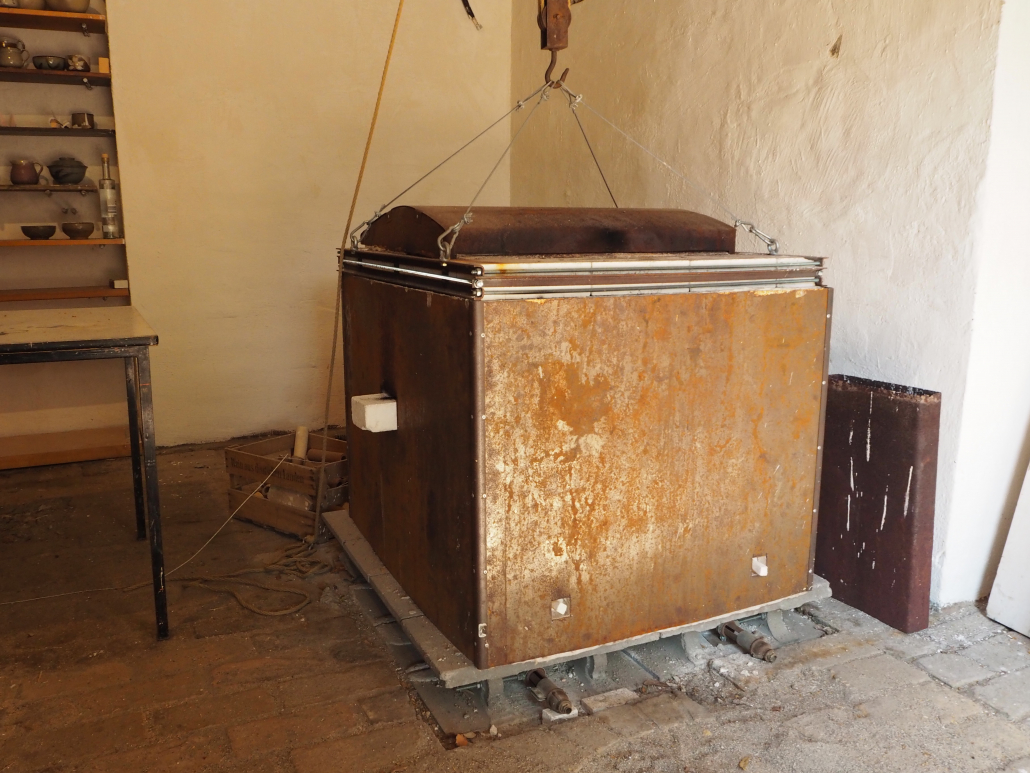
I currently fire my work a tiny 10 cubic feet, propane gas kiln. I build the kiln my self at the beginning of my pottery life without really knowing what I was doing, but it still stands and does its work quite well.
My gas fired kiln.


